Unity is a 3D development platform, and as such requires 3D capable hardware. Fortunately, you don't need a high-end workstation to use the Unity Editor, as many affordable laptops are enough. It's difficult though to tell in advance whether your machine will handle the Unity Editor comfortably. The best way is to try it on a scene similar to the one we will be developing.
Installation
Detailed instructions for each step are provided on a separate installation page.
Get the Test Project
Download our Test Scene.
Unzip the downloaded file to a folder of your choice. Usually, your desktop works fine if it's not too cluttered 😉
After unzipping, you should get a folder called "Laptop Performance Test" which contains 4 other folders. This is the main folder of our test project.

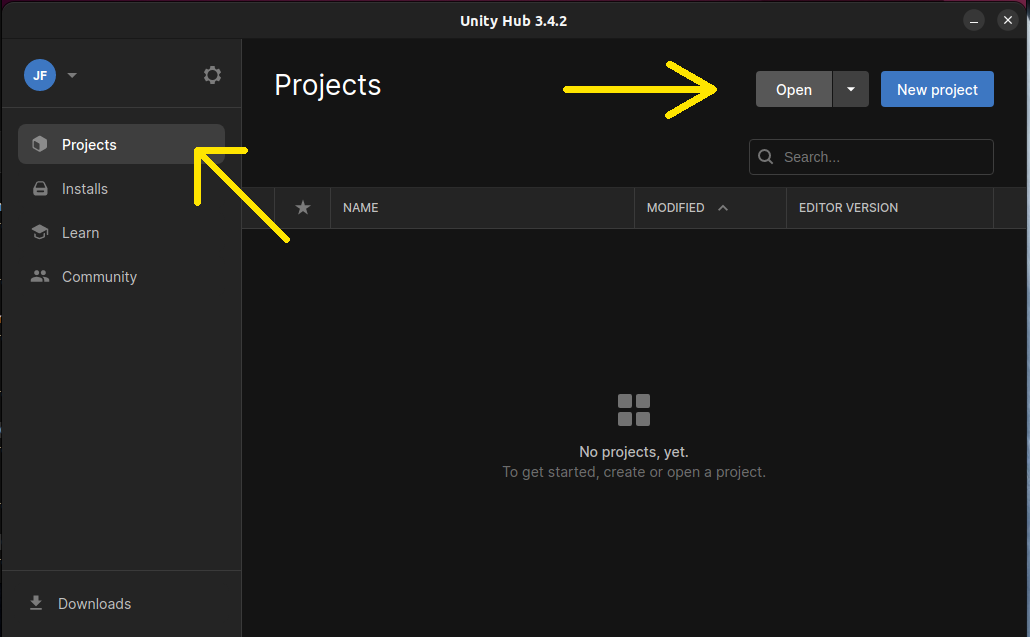
Open the Unity Hub app, go to the "Projects" tab and click on the "Open" button.
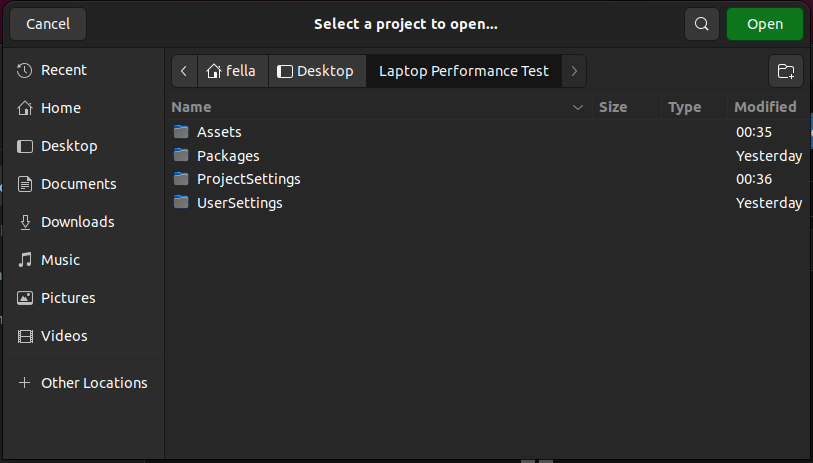
Navigate to the main folder of our test project and open it.
The project will appear in the list. Click on its name to open it.
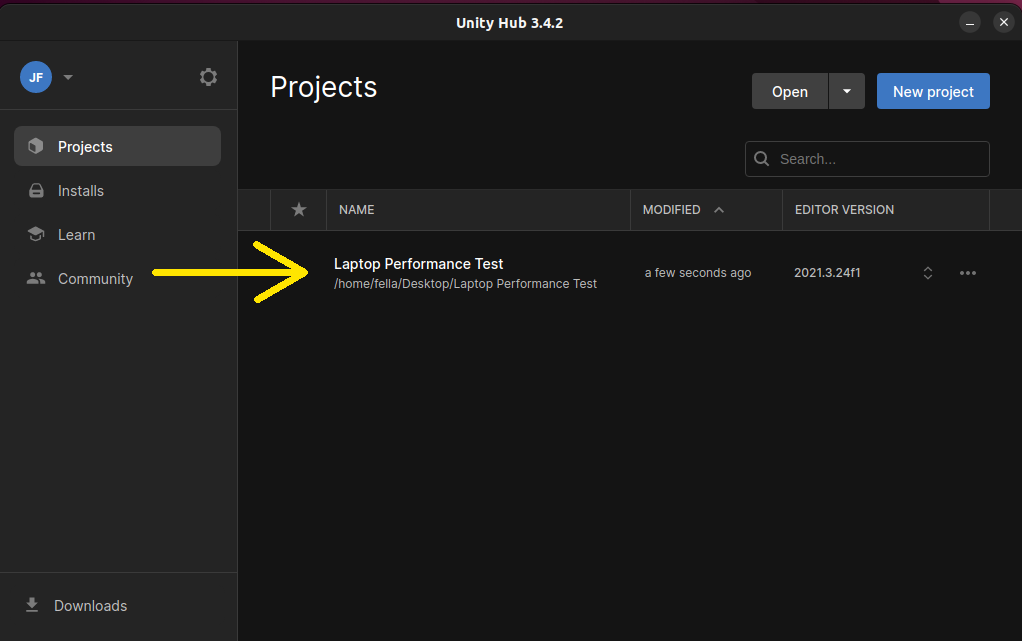
Unity will open the project and download all needed packages. This may take some time...
Run the Test Project
After opening the test project, you should be greeted with the main Unity window. Find the scene called "Scene" under the "Assets" in the "Project" tab in the bottom part of the window. Double click to open it.
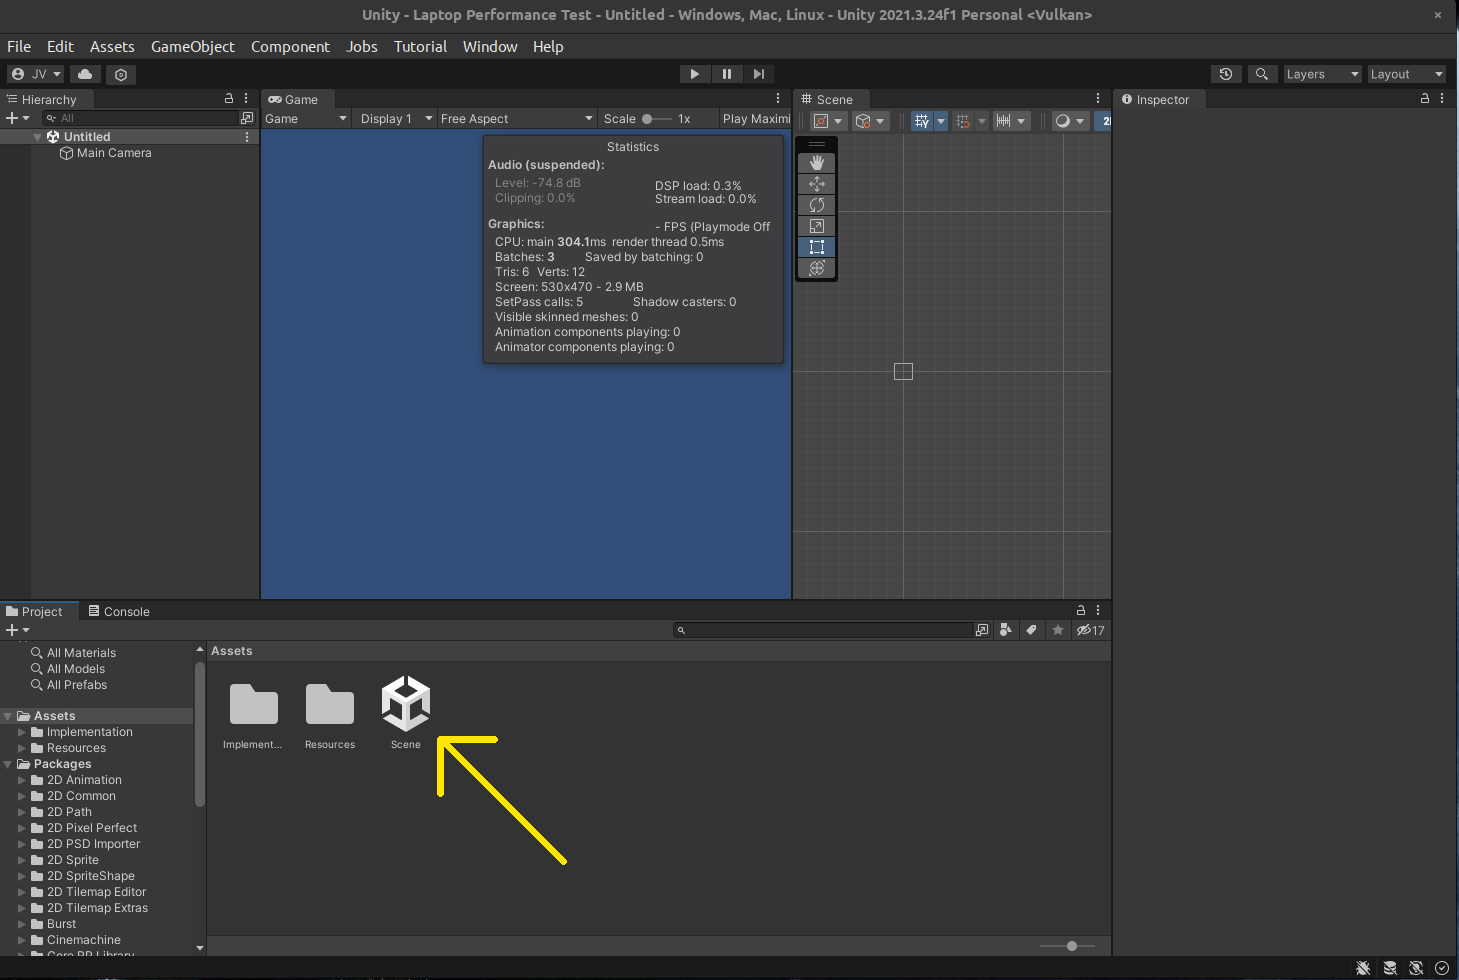
A scene should open, populating the "Scene" and "Game" tabs. Run the scene by clicking the ▶ play button on the top.
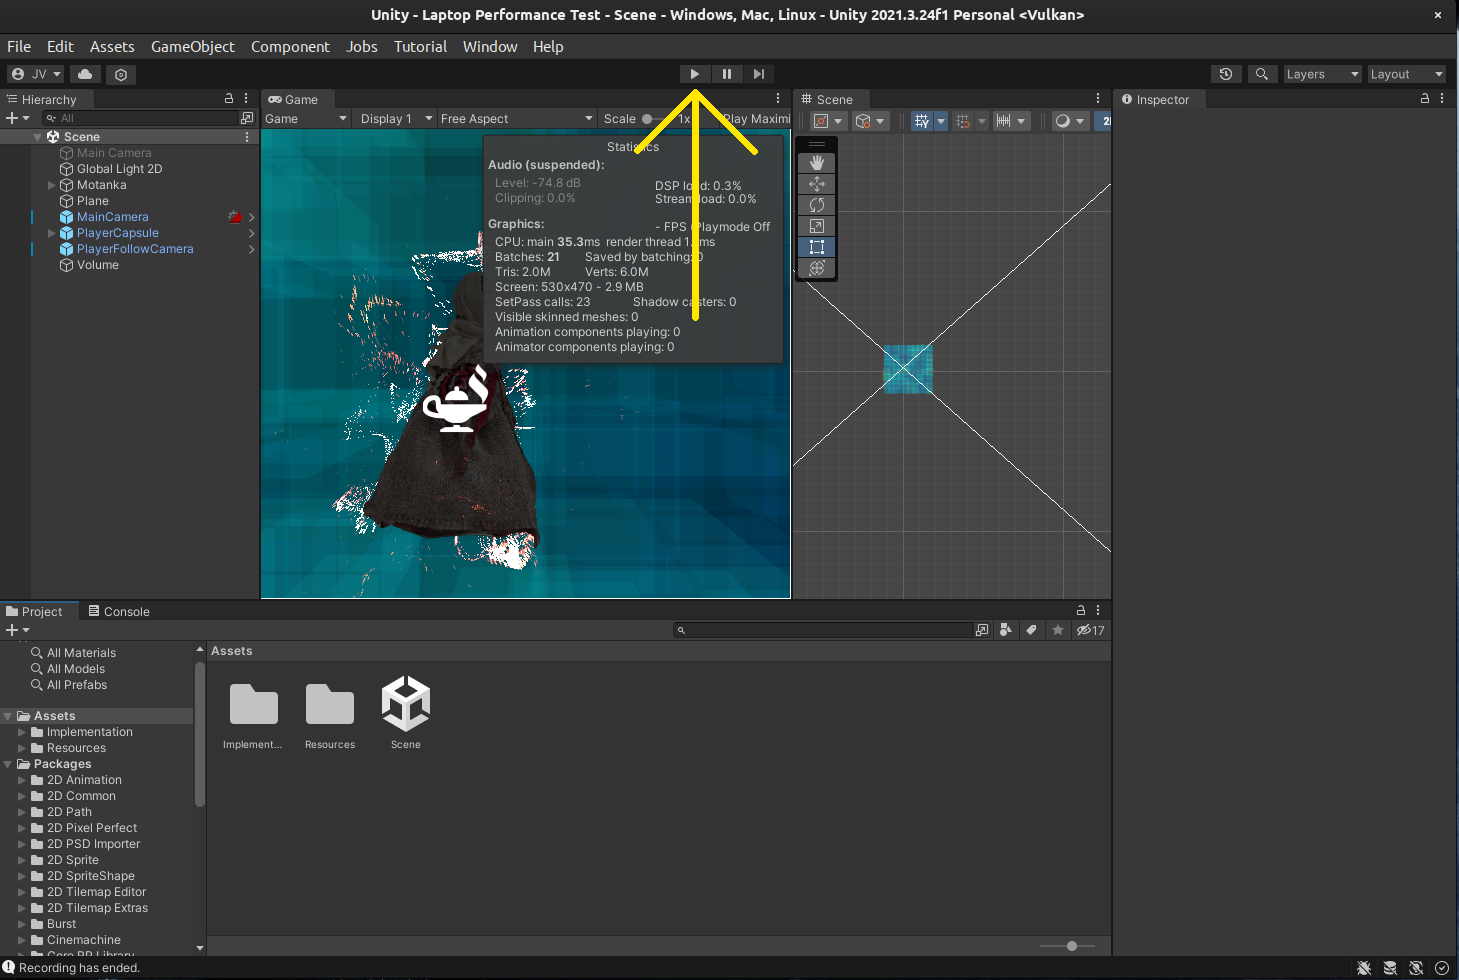
The scene will run, and you will be able to navigate through it using your mouse, and the classic ASWD or arrow keys. Walk around a little, and see if the performance is acceptable, and that your computer doesn't grind to a total halt.
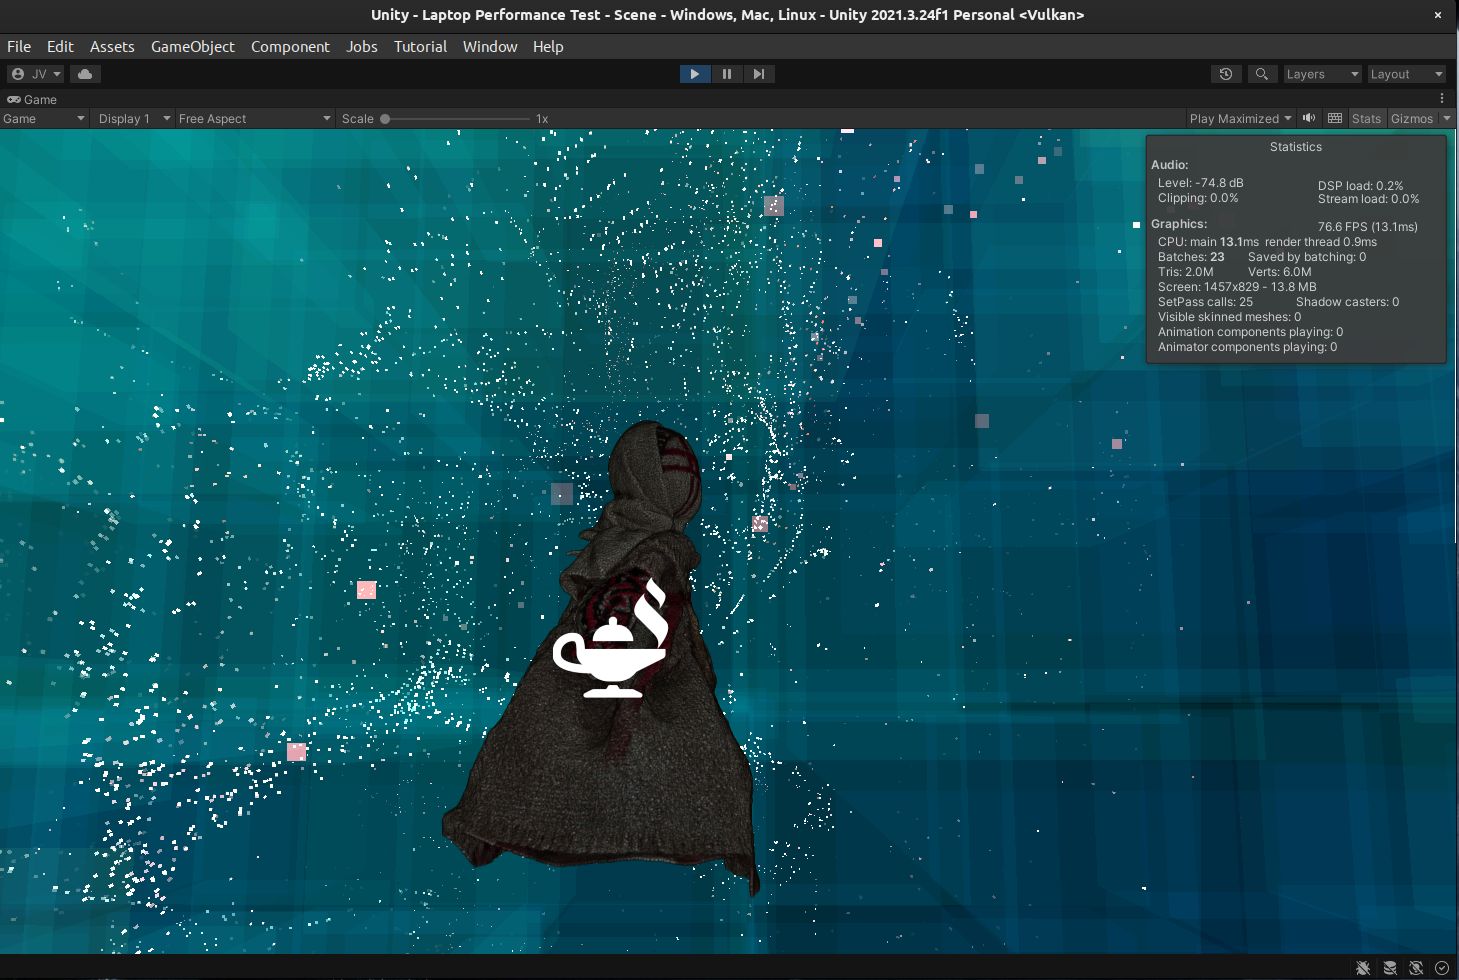
You can exit the scene by clicking the ▶ play button again. If you've clicked inside the running game, you might have lost mouse focus. In that case, regain it by hitting Esc on your keyboard.
